Learning iOS and Swift. Day 10: Internationalization, round images
Karol Moroz on
A very important feature of the ecosystem, one that I have wanted to learn for long, is internationalization, commonly abbreviated as i18n. The book teaches i18n in its simplest form, translating strings. Below is a fairly complicated view with translated strings.
import SwiftUI

struct WelcomeView: View {
  var body: some View {
    ZStack {
      VStack {
        HeaderView(
          titleText:
            NSLocalizedString("Welcome", comment: "greeting")
        )
        Spacer()
        Button(NSLocalizedString("History", comment: "view user activity")) {}
          .padding(.bottom)
      }
      VStack {
        HStack(alignment: .bottom) {
          VStack(alignment: .leading) {
            Text(NSLocalizedString("Get fit", comment: "invitation to exercise"))
              .font(.largeTitle)
            Text(NSLocalizedString("with high intensity interval training", comment: ""))
              .font(.headline)
          }
          Image("step-up")
            .resizable()
            .aspectRatio(contentMode: .fill)
            .frame(width: 240.0, height: 240.0)
            .clipShape(Circle())
        }
        .padding(.bottom)
        Button(action: {}) {
          Text(NSLocalizedString("Get Started", comment: "invitation"))
          Image(systemName: "arrow.right.circle")
        }
        .font(.title2)
        .padding()
        .background(
          RoundedRectangle(cornerRadius: 10.0)
            .stroke(Color.gray, lineWidth: 2.0))
      }
    }
  }
}
In order to translate a string, Replace hard-coded strings with an NSLocalizedString. The first argument to the initializer is the translation key. Then, you need to pass a comment:. Even if you have nothing to add, you must pass an empty string.
Following a fair bit of Xcode-fu, I ended up with a folder named en.lproj in the project directory. In order to generate a file with strings to translate, I ran this command:
genstrings -o en.lproj Views/*.swift Models/*.swiftAfter more GUI-based configuration, Xcode generated a zh-Hant.lproj folder for me, with a Localizable.strings file inside.
After lazily translating all strings, I managed to get the following view localized:
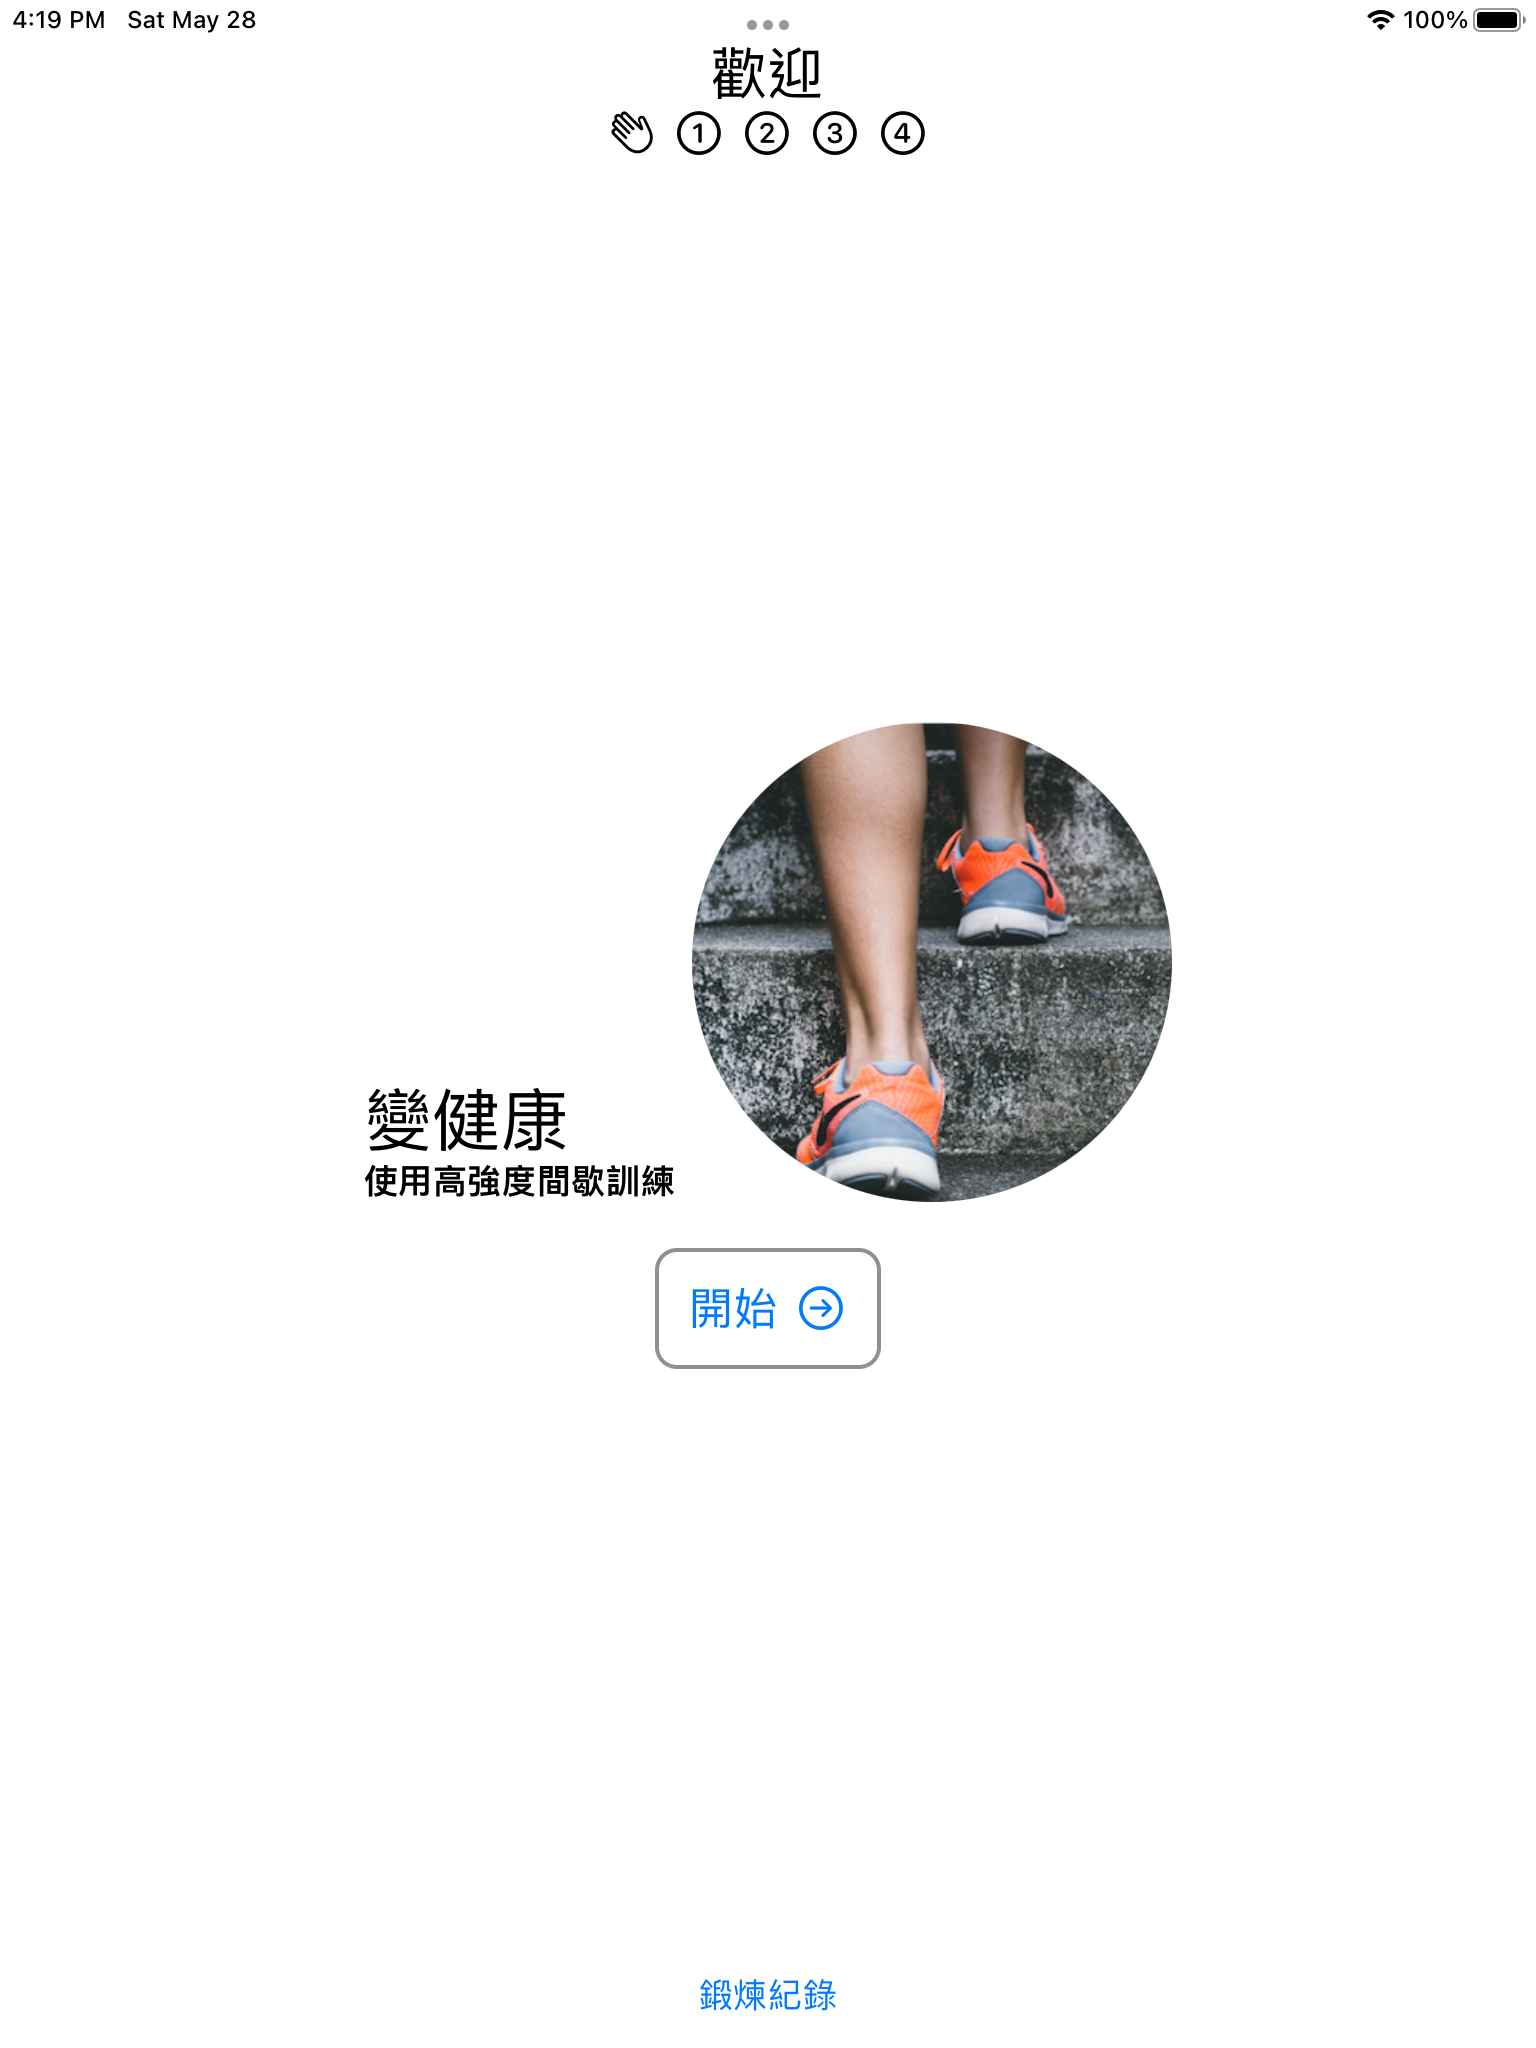
This example shows that our existing localization strategy is inherently broken, because the English phrase “Get fit with high intensity interval training” has been split into two lines. In Chinese, the part “with high intensity interval training” would go before “get fit”, but there is no way to move these two around in code.
Another interesting thing is the use of ZStack for layout. This is because a VStack places all children on one plane.
However, the images and welcome text in the middle need to be centered absolutely in the middle of the screen.
Therefore, the “Welcome” heading and the “History” button are placed in a separate layer, with some space between.
This is a different approach to what I would normally do in a website, which is putting everything in the same container and positioning the central part absolutely.
Circular image filling its space
There is a snippet in the code displaying an image clipped inside a circle. This is something that will definitely be useful in many places, to display things like user avatars.
Image("step-up")
  .resizable()
  .aspectRatio(contentMode: .fill)
  .frame(width: 240.0, height: 240.0)
  .clipShape(Circle())
The initializer Image("step-up") looks the image step-up in the project bundle.
No extension is passed, because the assets are stored in some complicated format that takes care of things like different pixel density screens.
.resizable(), .aspectRatio(contentMode:), .frame(width:height:) and .clipShape(_:) are methods that seem to only be exposed on Images, not on all views.
The original image, as found in the bundle, is a square, with the intrinsic dimensions of 320x312px.

The same image, clipped in the application, looks so: