Learning iOS and Swift. Day 7: UIKit primitives, Hello SwiftUI
Karol Moroz on
What I was going to show in this post
I built a very simple iOS app that displayed a button:
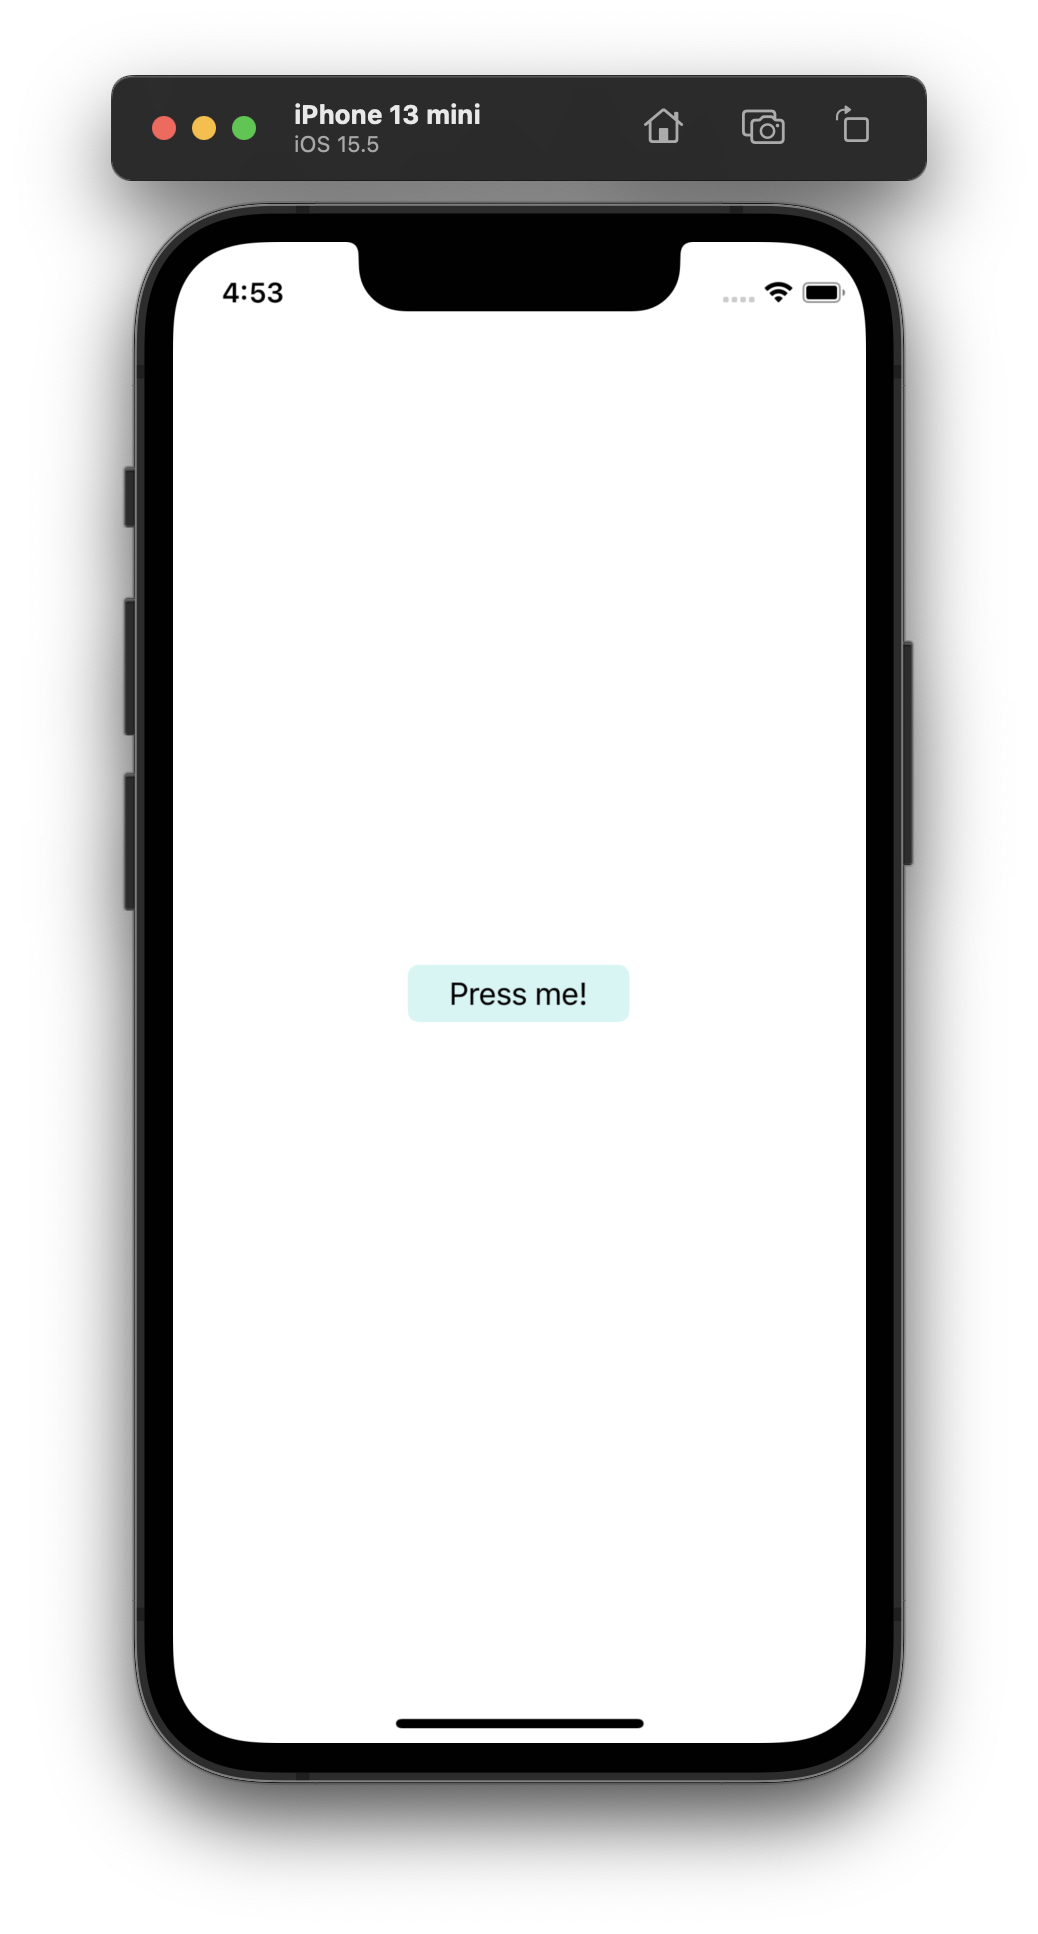
Once the button is clicked, a message is displayed:
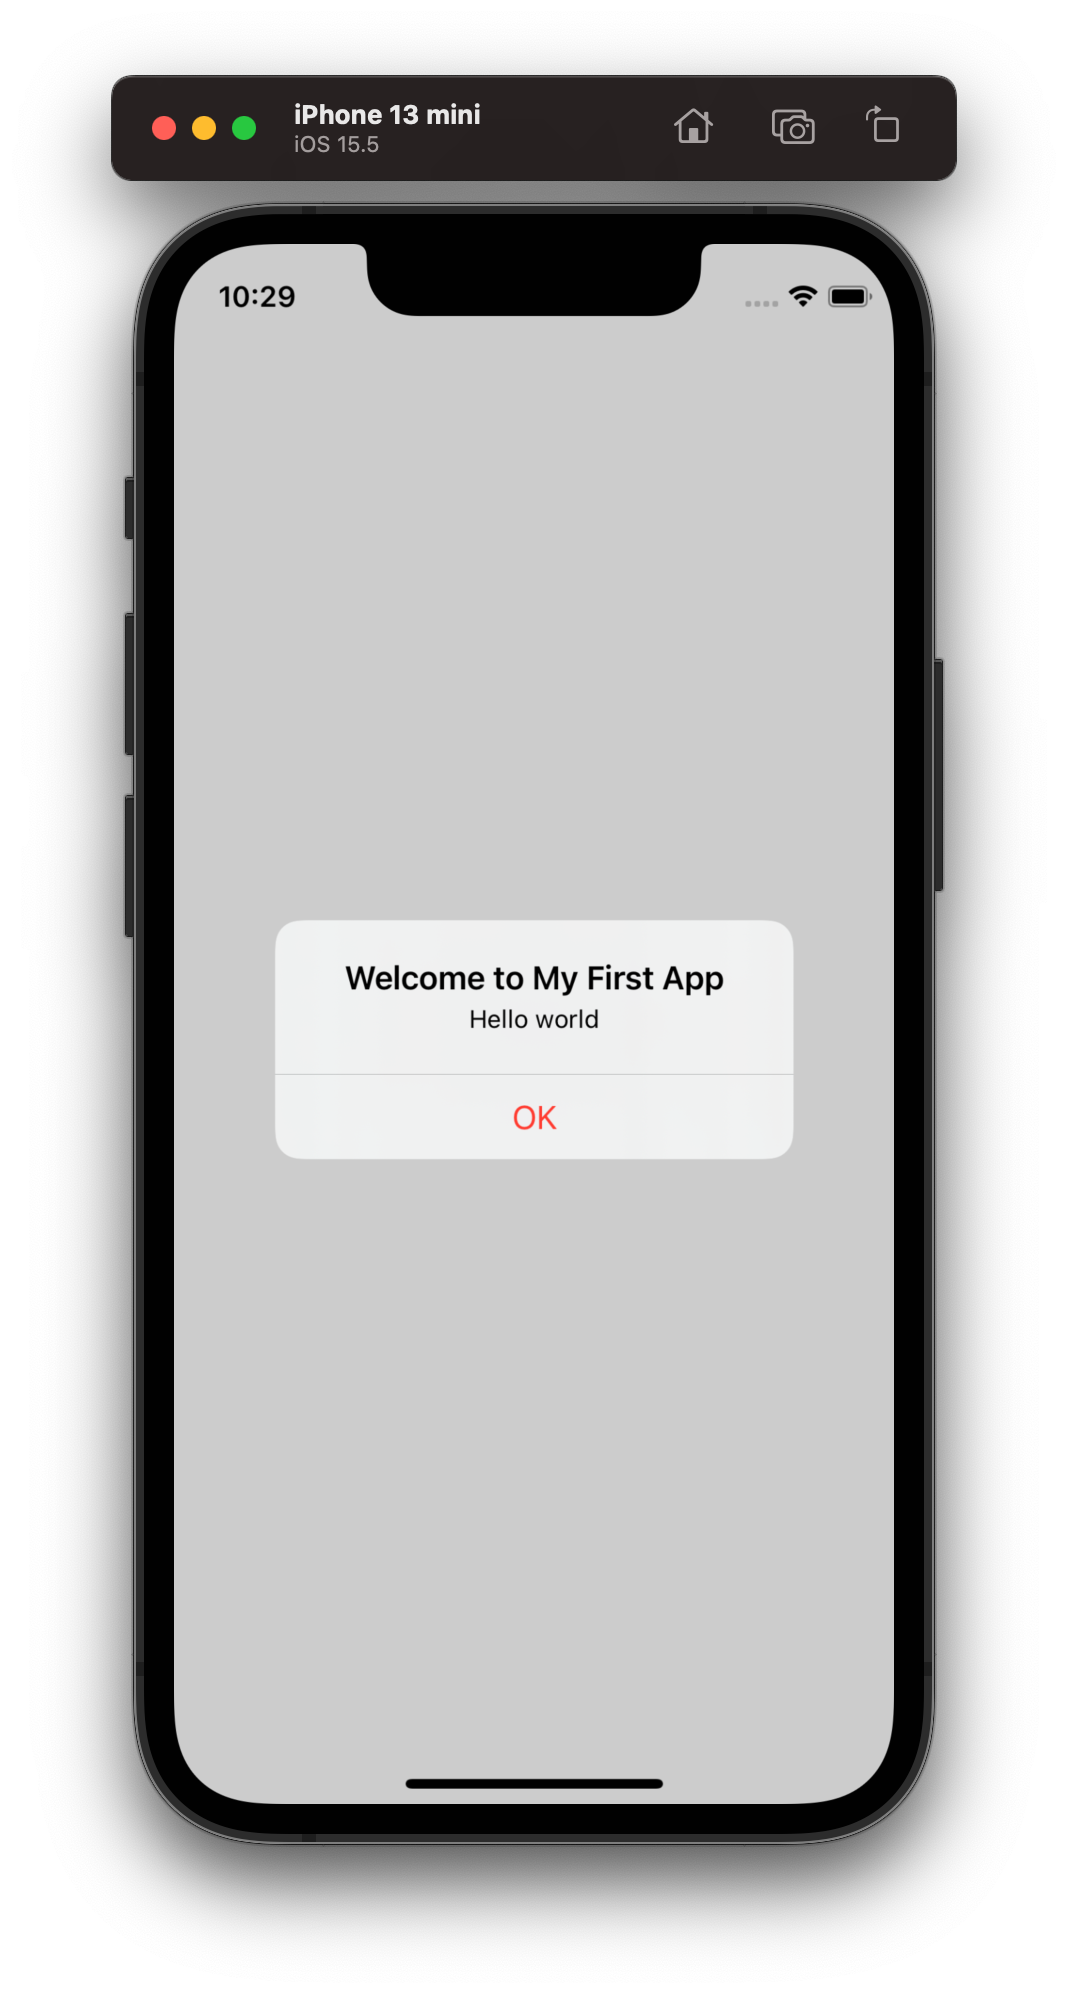
Here is the controller method that handles the event:
@IBAction func showMessage(sender: UIButton) {
    let alertController = UIAlertController(
        title: "Welcome to My First App",
        message: "Hello world",
        preferredStyle: .alert
    )
    alertController.addAction(
      UIAlertAction(title: "OK", style: .destructive, handler: nil)
    )
    present(alertController, animated: true, completion: nil)
}
The code seems very wordy compared to JavaScript’s confirm or alert built-ins, but even from this short snippet we can notice the insane level of granular control that we have over the dialog box. We can add as many action buttons as we need, with custom labels and styles (.default for neutral actions like “OK”, .destructive for potentially destructive actions, and .cancel for “Cancel” buttons). Each of the buttons can have a custom click handler.
There is a new type of token in this snippet that has not been covered in previous posts, namely the @IBAction attribute.
I am not sure what it indicates and I don’t know if I’m going to need it when developing interfaces using SwiftUI.
Background, or why I am not going to discuss this project
After learning basic Swift syntax for a few days, I decided that I now understand enough of Swift syntax to be able to comfortably dive into basic iOS development examples. Unfortunately, this also means that I have to switch to a macOS machine for all further development and that I will have to use Xcode. Luckily, after 12 versions of notoriously bad development experience, Apple finally shipped Vim mode as a built-in feature, adding support at least for the basic Vim movements. I also found out that when running on an ARM-based Mac computer, I can run iPad apps directly on macOS, without having to resort to Simulator.
There are two official frameworks for building interfaces on iOS, UIKit and SwiftUI. UIKit is the older one, so old in fact that it’s written in Objective-C. The book I was initially following, Beginning iOS Programming with Swift, only covers UIKit in the version I owned, and it also told me to learn UIKit first. The main shortcoming of UIKit for me was that it required a lot of WYSIWYG-style clicking, dragging and similar mouse-fu, all of which could only be done in Xcode.
Coming from a Web development background, I prefer to do everything in Vim. With modern Web tooling like Phoenix, Vite, or Next.js, I can just work in the editor I am comfortable with, and see the results immediately in a browser window. SwiftUI, on the other hand, is code-oriented, but also provides a live preview in the editor window. It is considerably more declarative and encourages splitting views into reusable, functional components, not unlike React.
Below is an example of a Text view with a text and 20px of padding, described using code in SwiftUI:
import SwiftUI

struct ByeView: View {
    var body: some View {
        Text("Bye bye, world!")
            .padding(20)
    }
}
For comparison, this is the systemMint-colored tinted button with labelColored text from the initial “Hello, world!” application, developed using Storyboards (UIKit), as stored in XML:
<button opaque="NO" contentMode="scaleToFill" fixedFrame="YES"
    contentHorizontalAlignment="center" contentVerticalAlignment="center"
    buttonType="system" lineBreakMode="middleTruncation"
    translatesAutoresizingMaskIntoConstraints="NO" id="pqW-pW-z08">
    <rect key="frame" x="127" y="391" width="120" height="31"/>
    <autoresizingMask key="autoresizingMask" flexibleMaxX="YES" flexibleMaxY="YES"/>
    <state key="normal" title="Button"/>
    <buttonConfiguration key="configuration" style="tinted" title="Press me!">
        <color key="baseForegroundColor" systemColor="labelColor"/>
        <color key="baseBackgroundColor" systemColor="systemMintColor"/>
    </buttonConfiguration>
    <connections>
        <action selector="showMessageWithSender:" destination="BYZ-38-t0r"
            eventType="touchUpInside" id="yzY-ij-gvD"/>
    </connections>
</button>
To be fair, this file was intended to be machine-readable, and not intended for use by mortal humans, but not gonna lie, I find SwiftUI’s approach more appealing.
After extensive research (comprising of a single StartPage search for should I learn SwiftUI or UIKit), I found the answer: yes, I should learn SwiftUI. Therefore, I scrapped my “Hello, World!” project built with UIKit along the book, and set out to search for a book that would teach me SwiftUI right from the start. After some time spent juggling billing addresses and credit cards for tax optimization purposes (sales tax is much lower if your billing address is in a tax haven like Taiwan, just saying), I ended up subscribing to RayWenderlich.com to access the book called SwiftUI Apprentice. This book is very practice-oriented, so I should have new SwiftUI-based code to show off by tomorrow’s post.
{/* */}