Learning iOS and Swift. Day 19: Adding custom amounts in Ngöndro Tracker
Karol Moroz on
Today I worked to implement another MVP feature of my side project app called Ngöndro Tracker. As a reminder to readers unfamiliar with Tibetan Buddhism, ngöndro is a set of four meditation practices performed by practicioners of Tibetan Buddhism. Each of the practices contains a certain mantra or exercise that is repeated multiple times during each meditation session. In order to complete the four practices, the practitioner must accumulate 111,111 repetitions of each practice. The application I am building is intended to help keep track of the repetitons and to provide Apple Watch integration (existing solutions only work on iOS).
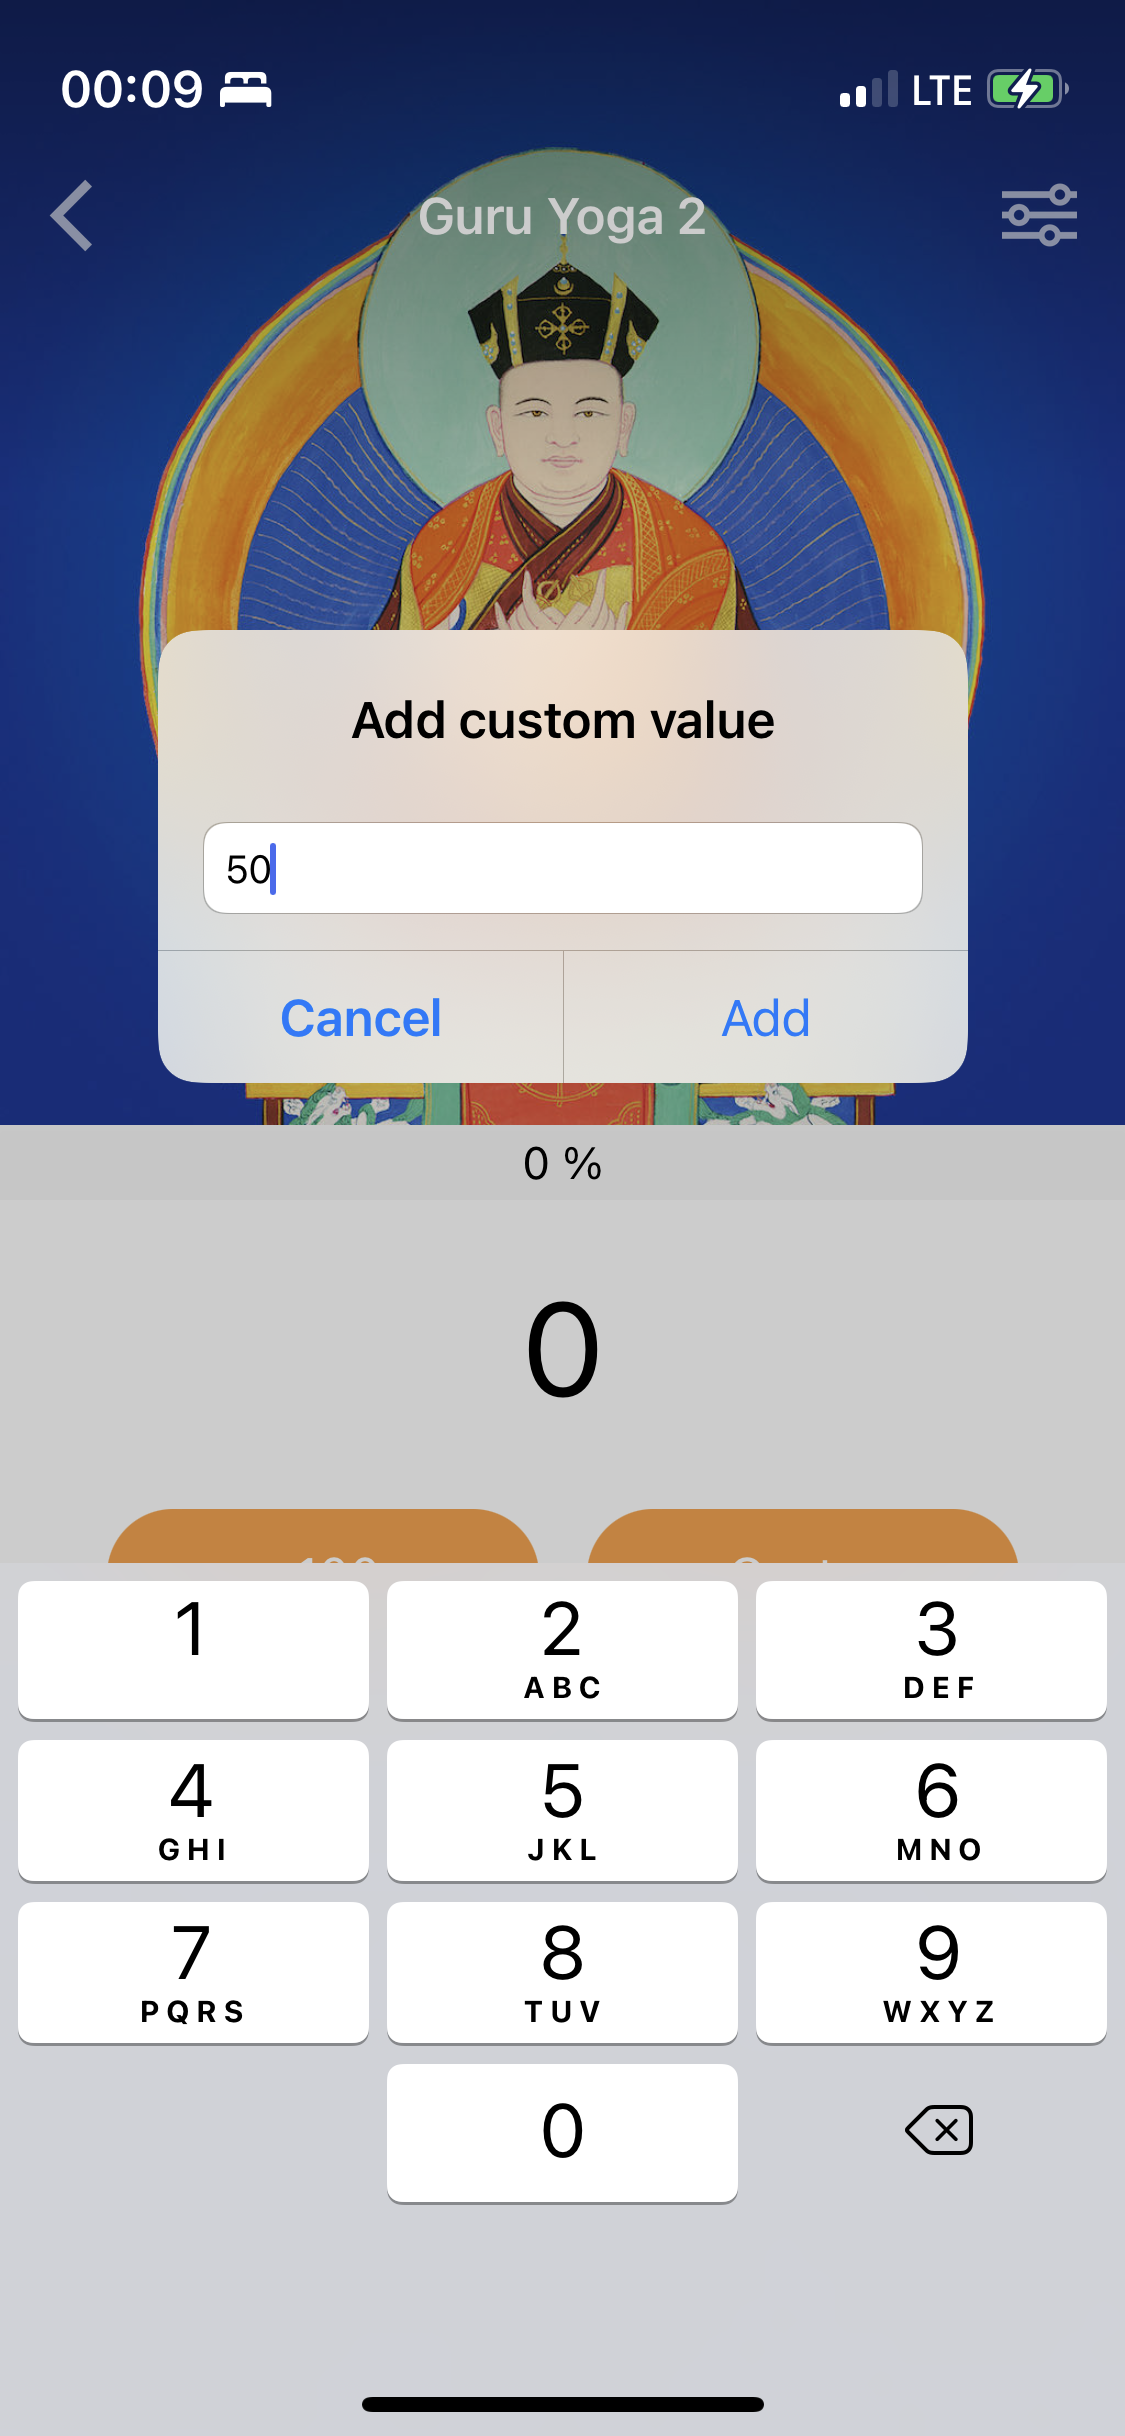
In order for the application to be usable, the application must allow the user to input arbitrary numbers of repetitions. Usually, the repetitions are counted with a mala, or prayer beads. A Buddhist mala has 108 beads, but a practitioner may also choose to count a full round as 100, or they may have done an irregular amount of repetitions during their session (e. g. 50 or 225). The application that my design and functionality is based on is iMala — Meditation Tracker. For some reason, the version I use every day has been removed from the App Store and replaced with a new one. In the app that I use, the practice view looks like this:

The dialog box displayed in the screenshot is displayed using a class called UIAlertController. Unfortunately, this class is a part of UIKit, and there is no idiomatic way to implement the same in SwiftUI. I found a workaround in this thread on StackOverflow. Apparently, SwiftUI somehow still uses UIKit under the hood, so it’s possible to call UIKit functions with low-level invocations and hacks.
struct PracticeView: View {
  // ...

  func addCustomValue() {
    let alert = UIAlertController(title: "Add custom value", message: "",
      preferredStyle: .alert)

    alert.addTextField { textField in
      textField.placeholder = "Your value"
      textField.keyboardType = .numberPad
    }
    alert.addAction(UIAlertAction(title: "Cancel", style: .cancel) { _ in })
    alert.addAction(
      UIAlertAction(title: "Add", style: .default) { _ in
        let input = alert.textFields![0] as UITextField
        if let text = input.text, let value = Int(text) {
          try? addAmount(amount: value)
        }
      })

    if let controller = AlertHelpers.topMostViewController() {
      controller.present(alert, animated: true)
    }
  }

  // ...
}
In the snippet above, an alert with a text field is displayed. The text field is restricted to numeric input (textField.keyboardType = .numberPad).
When the user taps the “Add” action, the handler fetches the text value from the text field and tries to parse it as an Int. If the parsing fails (for instance, if the field is empty), the input is discarded and no action is taken, otherwise the method addAmount(amount:) is called with the parsed amount.
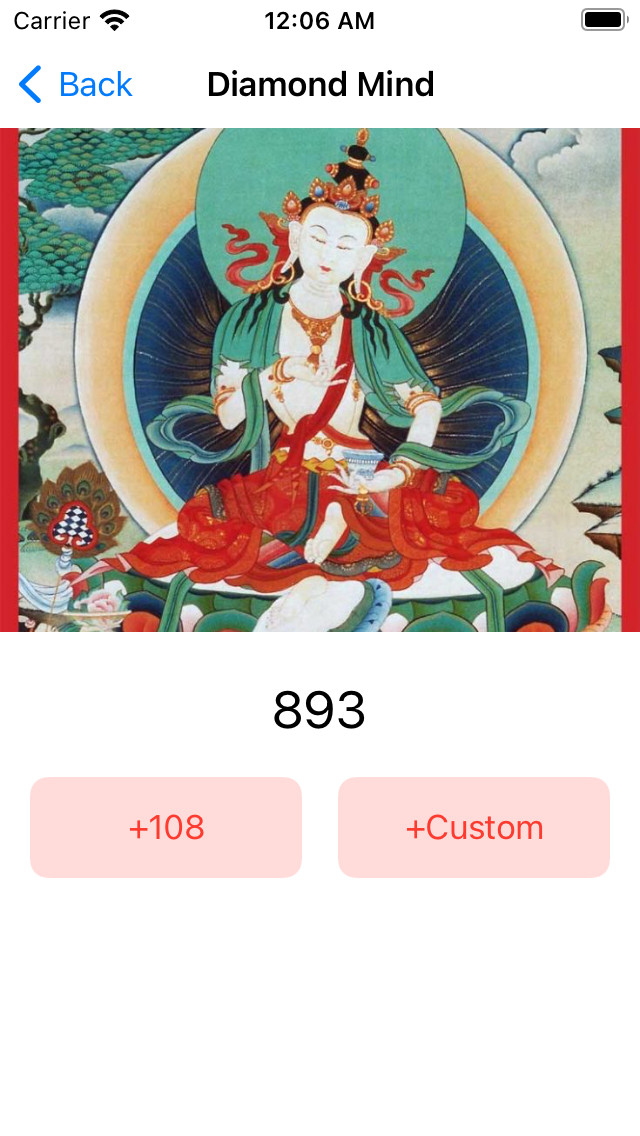
At this point, the practice view looks like this:

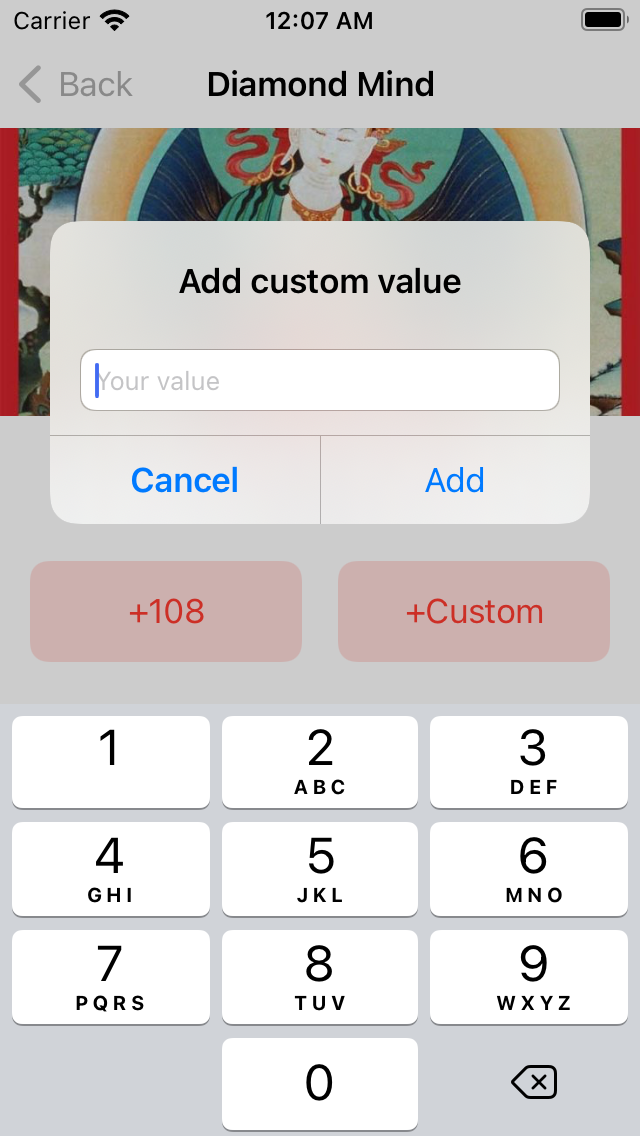
When the user taps +Custom, this alert is presented:

At this point, when the alert is open, the view collapses to the safe space above the keyboard.
I did not know how to prevent this, and replacing the view’s HStack with a ScrollView did not help.
However, I realized this was actually an easy fix — I just had to add .ignoresSafeArea(edges: .bottom) to the whole view:
var body: some View {
  GeometryReader { geometry in
    ScrollView {
      if let image = practice.image {
        Image(image)
          .resizable()
          .aspectRatio(contentMode: .fill)
          .ignoresSafeArea(edges: .top)
          .frame(width: geometry.size.width, height: geometry.size.height * 0.5)
          .clipped()
      }
      Text(String(amount))
        .font(.title)
        .padding(.top, 15)
        .padding(.bottom, 10)

      HStack {
        Button {
          try? addAmount(amount: practice.malaSize)
        } label: {
          Text("+\(practice.malaSize)")
            .frame(minWidth: 0, maxWidth: .infinity)
        }
        .padding(.leading, 15)
        .padding(.trailing, 5)

        Button {
          addCustomValue()
        } label: {
          Text("+Custom")
            .frame(minWidth: 0, maxWidth: .infinity)
        }
        .padding(.trailing, 15)
        .padding(.leading, 5)
      }
      .buttonStyle(.bordered)
      .tint(.red)
      .controlSize(.large)

      Spacer()
    }
  }
  .ignoresSafeArea(edges: .bottom)
  .navigationTitle(practice.name)
  .navigationBarTitleDisplayMode(.inline)
}
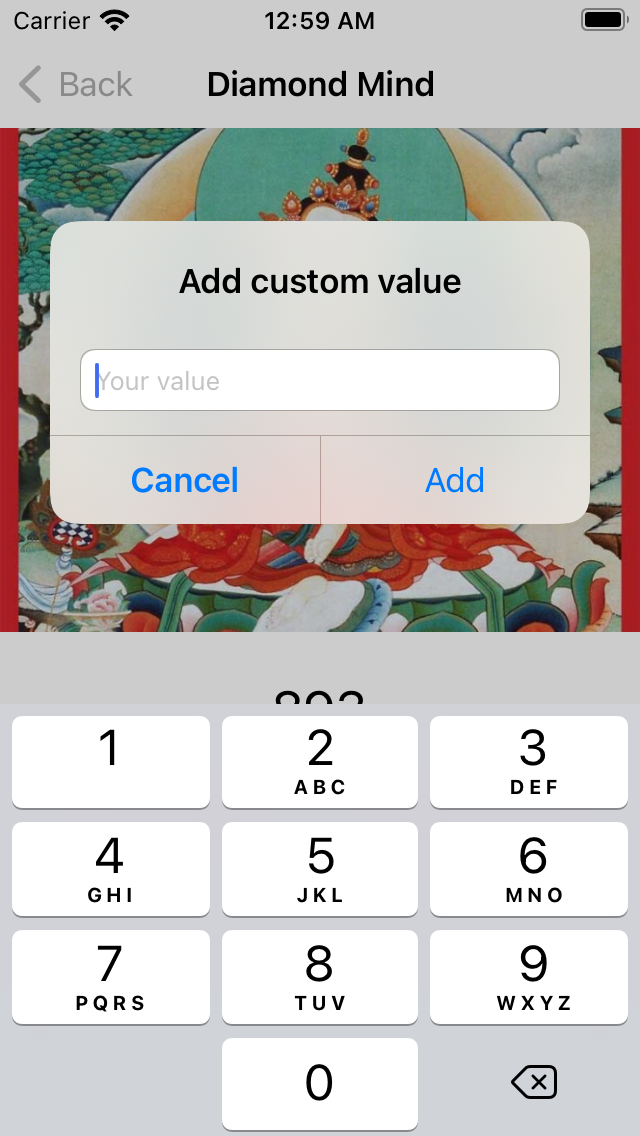
The resulting view:
