Learning iOS and Swift. Day 11: Essential state management, modals
Karol Moroz on
For the past few days, I have been following the SwiftUI tutorial from the book SwiftUI Apprentice.
All the views I have built until today were static, and I’ve been itching to introduce more bug potential in my simple iOS applications.
Today I will describe the three property wrappers that I learned today: @State, @Binding, and @Environment.
The application that I built for demonstration and exercise purposes, looks like this:
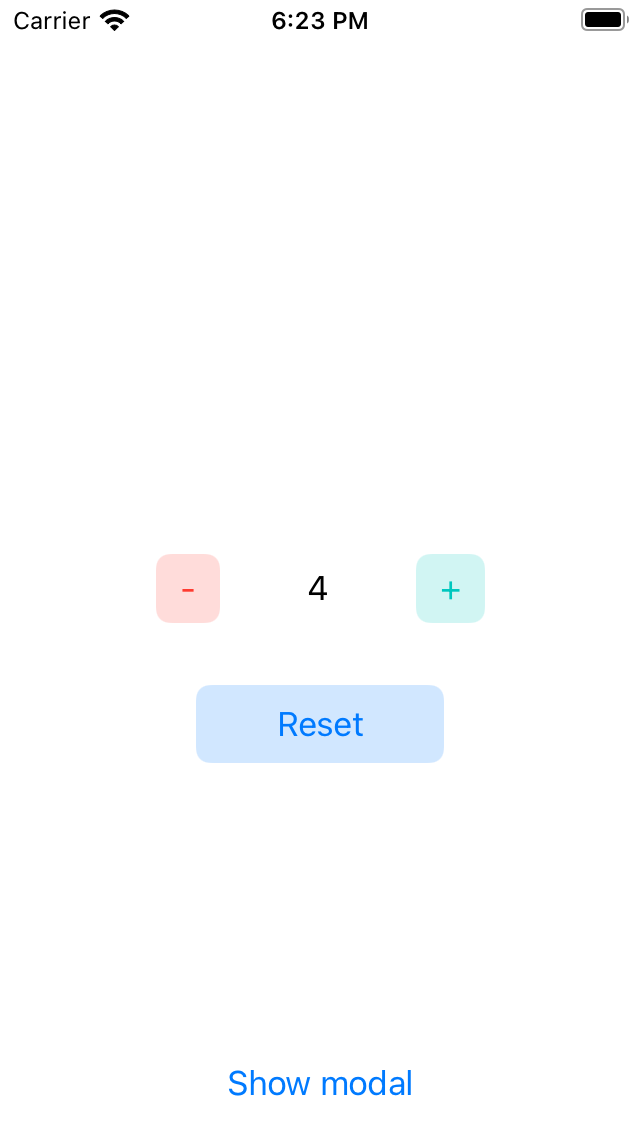
There is a counter which can be incremented, decremented, or reset using appropriate buttons. When the user clicks Show modal, a modal sheet is presented, which also has access to the state.
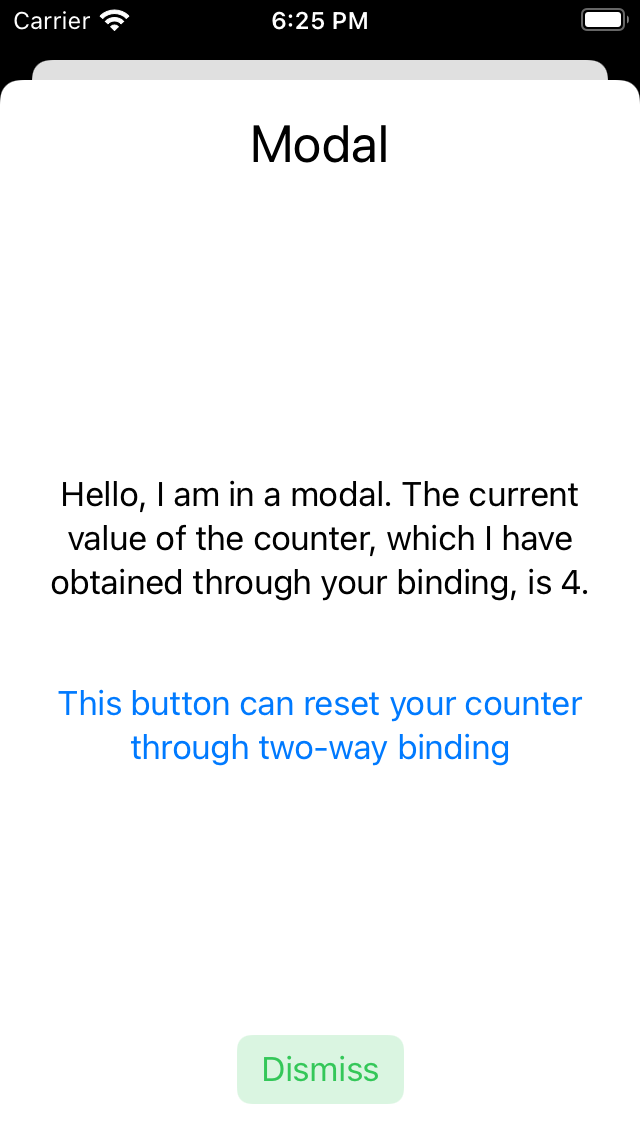
The modal has access to the count by means of a state binding. Since the binding is two-way by default, the modal can reset the value of the counter. The modal can be dismissed by sliding the modal down using the handle on the top or using the green-tinted Dismiss button.
The counter component and its buttons
Below is the source code of the main view, i. e. CounterView.
import SwiftUI

struct CounterView: View {
  @State private var count = 0
  @State private var modalShown = false

  var body: some View {
    ZStack {
      HStack {
        Button("-") { count -= 1 }
          .buttonStyle(.bordered)
          .tint(.red)

        Text(String(count))
          .frame(width: 50.0, height: 25.0)
          .padding()

        Button("+") { count += 1 }
          .buttonStyle(.bordered)
          .tint(.mint)
      }
      VStack {
        Spacer()
        Button(
          action: { count = 0 },
          label: {
            Text("Reset")
              .frame(width: 100.0, height: 25.0)
          }
        )
        .buttonStyle(.bordered)
        .tint(.blue)
        Spacer()
          .frame(height: 150.0)
        Button("Show modal") { modalShown.toggle() }
          .padding(.bottom)
          .sheet(isPresented: $modalShown) {
            ModalView(count: $count)
          }
      }
    }
  }
}
The state properties are declared inside the view struct:
@State private var count = 0
@State private var modalShown = false
They are marked as state using the @State attribute, and they should be private, so that they cannot be updated other than by means of data bindings.
The counter component comprises of a HStack containing two buttons and some text:
HStack {
  Button("-") { count -= 1 }
    .buttonStyle(.bordered)
    .tint(.red)

  Text(String(count))
    .frame(width: 50.0, height: 25.0)
    .padding()

  Button("+") { count += 1 }
    .buttonStyle(.bordered)
    .tint(.mint)
}
Within the defining component, state can be updated simply by mutating the property, as in count -= 1.
The counter value is an Int, therefore it needs to be converted to String before it can be rendered in a Text view.
The Reset button is positioned somewhat awkwardly at a hardcoded distance from the Show modal button:
Button(
  action: { count = 0 },
  label: {
    Text("Reset")
      .frame(width: 100.0, height: 25.0)
  }
)
.buttonStyle(.bordered)
.tint(.blue)
The modal component
Before I talk about displaying the modal within the counter view, let me first briefly discuss the modal itself:
import SwiftUI

struct ModalView: View {
  @Environment(\.presentationMode) var presentationMode
  @Binding var count: Int

  var body: some View {
    VStack {
      Text("Modal")
        .font(.title)
        .padding()
      Spacer()
      Text(
        "Hello, I am in a modal. The current value of the counter, which I have obtained through your binding, is \(count)."
      )
      .multilineTextAlignment(.center)
      .padding()
      Button("This button can reset your counter through two-way binding") { count = 0 }
        .padding(.top)
      Spacer()
      Button("Dismiss") { presentationMode.wrappedValue.dismiss() }
        .buttonStyle(.bordered)
        .tint(.green)
        .padding()
    }
  }
}
There are no @State bindings, since the state is owned by the CounterView component.
There are, however, two bindings:
@Environment(\.presentationMode) var presentationMode
@Binding var count: Int
@Binding properties define two-way data bindings for state values.
Updating state through data bindings is done exactly the same as with @State bindings, by directly mutating the property:
Button("This button can reset your counter through two-way binding") { count = 0 }
  .padding(.top)
Through some SwiftUI magic, the binding will then update the state value through the binding, directly at the source of truth.
The @Environment(\.presentationMode) binding is something I do not fully understand at this point, but apparently it extracts some values from the view’s context and exposes them to the view.
In this case, the property represents whether the modal is being shown or not.
The green Dismiss button makes use of this binding to dismiss the modal, by accessing the binding’s wrappedValue:
Button("Dismiss") { presentationMode.wrappedValue.dismiss() }Displaying a modal
A modal is defined as a .sheet modifier on the button that displays it.
In order to control whether the modal is displayed or not, you need to pass the boolean flag isPresented: as a binding.
In the content: closure, render the contents of the modal.
In this case, the modal will contain the ModalView with a binding for count, which in SwiftUI is expressed as $count.
Button("Show modal") { modalShown.toggle() }
  .padding(.bottom)
  .sheet(isPresented: $modalShown) {
    ModalView(count: $count)
  }
When the button is pressed, the value of the modalShown property is toggled, changing the value of isPresented: to true, which results in the modal being displayed to the user.
Apparently, when the modal is dismissed in any way, the modalShown state is being updated to false through the binding.
Thank you for reading, and if you have any thoughts on this topic, please leave a comment using the form below. See you in the next post.