Integrating Vite.js with Phoenix 1.6
Karol Moroz on
This article describes the process of integrating a new Phoenix 1.6 application with Vite.js for development and deployment purposes. We are going to configure assets bundling for a barebones React.js/TypeScript application and style it with Bulma and SASS. This article was originally released as a Reveal.js presentation for internal use at my current company. This version aims to expand and elucidate on the original content.
Why do we need to worry about JS bundling?
Phoenix 1.6 replaces Webpack with esbuild. This means that the Phoenix core team does not have to spend time maintaining Webpack configs for mix phx.new generators, which was apparently a huge waste of time for what is, after all, mostly a back end framework. Webpack has been the go-to JS bundling tool for many years and is the basis of many other powerful tools, such as create-react-app, Next.js, Gatsby.js.
Webpack is certainly a powerful tool with a vibrant ecosystem. It’s also written mostly in JavaScript, and therefore much slower than tools implemented in low-level languages. It is notoriously slow to start up, especially in combination with TypeScript.
Luckily, Phoenix does not depend on any specific asset bundler. We can use any bundler, as long as it can output asset files at the right location, i.e., priv/static.
Why not ESBuild?
ESBuild is very low level. It is not a full-fledged bundling framework like Webpack or Gulp, but rather a Go library for compiling JavaScript. The latest Phoenix generators come with an installer and runner for esbuild that you can configure to compile all your JS and CSS without ever having to pull any NPM dependencies. Some people even went as far as to build Hex packages for Bulma and SASS for use with Phoenix.
If you have ever used the Rails asset pipeline with bootstrap-sass, you know this is not the optimal solution. The Rails asset pipeline was particularly slow, inflexible, poorly documented, and idiosyncratic, and any CSS or JS libraries bundled for use with Rails ended up being several versions behind upstream.
With Vite.js, we can still leverage the raw speed of ESBuild, but with a much more friendly configuration API, hot module reloading, and more.
What is Vite.js?
Vite.js is a build tool made by the creator of Vue.js, Evan You (尤雨溪). Vite is the French word for “fast,” and the name is not a misnomer. A Vite.js project can start up in well under a second, and compile assets much faster than Webpack-based tools.
Vite.js uses ESBuild to compile JavaScript and Rollup.js for production builds. Unlike Webpack, Vite.js does not combine all of your JS modules in one big chunk every time you change something. This would be highly inefficient in bigger projects. Instead, it imports each module separately using ECMAScript Modules (ESM). This way, each module can be transpiled in isolation, and a change to a single file does not require bundling a new gigantic JS file.
Vite.js supports Vue, React, Svelte, Lit, Preact, Vanilla JS and TypeScript out of the box.
Getting started
In order to follow this tutorial, you need to install Erlang, Elixir, Node.js, and Yarn 1.x. The easiest way to install Erlang, Elixir, and Node.js on a Mac is using Homebrew. You can install Yarn as a system package on some systems, on others you can install it as an NPM package. In case you need to manage multiple versions of these tools, consider using asdf. This tutorial was developed on Elixir 1.12.2, Erlang 24, and Node.js 16.8.0.
Once you have all of the above installed, install the latest Phoenix application generator:
mix archive.install hex phx_newNow, let’s create a new Phoenix project and set up dependencies. For the sake of simplicity, this tutorial does not include any database integrations.
mix phx.new --no-ecto --no-assets vite_demo When the generator asks you whether you want to fetch and install dependencies, just press Enter and everything will proceed automatically.
Creating a config for Vite.js
Now let’s start building the front end part of our application. cd into the application root directory and generate a Vite.js project using yarn create:
yarn create vite --template react-ts assetsyarn create is a neat wrapper for create-* generators, so yarn create vite will install and run the NPM package create-vite.
This also works with other generators, such as the classic create-react-app.
Add a watcher
In config/dev.exs, configure Phoenix endpoint to start the Vite.js watcher with the application:
config :vite_demo, ViteDemoWeb.Endpoint,
  # Binding to loopback ipv4 address prevents access from other machines.
  # Change to `ip: {0, 0, 0, 0}` to allow access from other machines.
  http: [ip: {127, 0, 0, 1}, port: 4000],
  check_origin: false,
  code_reloader: true,
  debug_errors: true,
  secret_key_base: "k1rc/Ae3Lkg8gO7BIgKP/oDw9jE9gFGPZhZVlKL9N0gG5yU97iiwlcDgs8GTnpLb",
  watchers: [
    node: [
      "node_modules/vite/bin/vite.js",
      cd: Path.expand("../assets", __DIR__)
    ]
  ]
Install SASS and Bulma
Inside the assets directory, let’s install sass (Dart SASS) and the Bulma CSS framework:
cd assets
yarn add -D sass @types/node
yarn add bulma
If you need to also work with the JS libraries provided by Phoenix, e.g. to implement link tags using HTTP methods different from GET, or to use Phoenix LiveView, install Phoenix JS dependencies from NPM:
yarn add -D @types/phoenix
yarn add phoenix phoenix_html phoenix_live_view
Configure Vite
Replace the content of assets/vite.config.ts with the following:
import { defineConfig } from "vite";
import react from "@vitejs/plugin-react";

export default defineConfig(({ command }: any) => {
  const isDev = command !== "build";
  if (isDev) {
    // Terminate the watcher when Phoenix quits
    process.stdin.on("close", () => {
      process.exit(0);
    });

    process.stdin.resume();
  }

  return {
    publicDir: "static",
    plugins: [react()],
    build: {
      target: "esnext", // build for recent browsers
      outDir: "../priv/static", // emit assets to priv/static
      emptyOutDir: true,
      sourcemap: isDev, // enable source map in dev build
      manifest: false, // do not generate manifest.json
      rollupOptions: {
        input: {
          main: "./src/main.tsx"
        },
        output: {
          entryFileNames: "assets/[name].js", // remove hash
          chunkFileNames: "assets/[name].js",
          assetFileNames: "assets/[name][extname]"
        }
      }
    }
  };
});
This file is a TypeScript module that exports a decorated function which returns a config object. Let us quickly go over the contents of this function.
const isDev = command !== "build";We check the command used to launch vite as some settings will be different in development and production builds.
In development, vite will be launched with the command serve, and for deployment builds, with build.
  if (isDev) {
    // Terminate the watcher when Phoenix quits
    process.stdin.on("close", () => {
      process.exit(0);
    });

    process.stdin.resume();
  }
In development, the watcher process should terminate exactly at the same time as the Phoenix process supervising it.
For reasons I don’t fully understand as of this writing, the termination of the parent process results in the standard input device (STDIN) being closed for the child process.
Therefore, we listen for a close event on the STDIN device to clean up Vite’s memory, unbind ports, etc.
  return {
    publicDir: "static",
    plugins: [react()],
    build: {
      target: "esnext", // build for recent browsers
      outDir: "../priv/static", // emit assets to priv/static
      emptyOutDir: true,
      sourcemap: isDev, // enable source map in dev build
      manifest: false, // do not generate manifest.json
      rollupOptions: {
        input: {
          main: "./src/main.tsx"
        },
        output: {
          entryFileNames: "assets/[name].js", // remove hash
          chunkFileNames: "assets/[name].js",
          assetFileNames: "assets/[name][extname]"
        }
      }
    }
  };
This fragment instructs Vite to look for static asset files (to be copied without processing) under assets/static, and configures the React plugin.
The build part configures entry points, target directories, and filename patterns for compiled assets.
We disable source maps in production builds and opt not to generate a manifest file—Phoenix has its own mechanism for generating cache manifest files that is incompatible with Vite’s.
Import Vite assets in layout
If we launch mix phx.server at this point, we should still see the default Phoenix application page:
Now, let us break it all so we can have some fun with React.
With a Vite.js-based workflow, we will import different asset files in development and in production builds. Therefore, we will need a way to conditionally render <script> tags based on Mix environment.
However, since Mix is not available in releases, we need to cache the Mix environment at compile time.
To this end, add a function to your LayoutView module to tell you if you are running in dev:
@env Mix.env() # remember value at compile time
def dev_env?, do: @env == :dev
Armed with our helper, we can now add a partial called _preamble.html.heex inside lib/vite_demo_web/templates/layout:
<%= if dev_env?() do %>
  <script type="module">
    import RefreshRuntime from "http://localhost:3000/@react-refresh";
    RefreshRuntime.injectIntoGlobalHook(window);
    window.$RefreshReg$ = () => {};
    window.$RefreshSig$ = () => (type) => type;
    window.__vite_plugin_react_preamble_installed__ = true;
  </script>
  <script type="module" src="http://localhost:3000/@vite/client"></script>
  <script type="module" src="http://localhost:3000/src/main.tsx"></script>
<% else %>
  <link phx-track-static rel="stylesheet" href={Routes.static_path(@conn, "/assets/main.css")}/>
  <script defer phx-track-static type="text/javascript" src={Routes.static_path(@conn, "/assets/main.js")}></script>
<% end %>
The topmost <script> tag is a polyfill needed to modify the DOM. The snippet comes from Vite.js documentation.
Now, in lib/vite_demo_web/templates/layout/root.html.heex, swap the default <link> and <script> tags for a call to render/2, like so:
<!DOCTYPE html>
<html lang="en">
  <head>
    <meta charset="utf-8"/>
    <meta http-equiv="X-UA-Compatible" content="IE=edge"/>
    <meta name="viewport" content="width=device-width, initial-scale=1.0"/>
    <%= csrf_meta_tag() %>
    <%= live_title_tag assigns[:page_title] || "ViteDemo", suffix: " · Phoenix Framework" %>
    <%= render "_preamble.html", assigns %>
  </head>
  <body>
    <%= @inner_content %>
  </body>
</html>
Replace default content
Swap the contents of lib/vite_demo_web/templates/page/index.html.heex with a container for our React application:
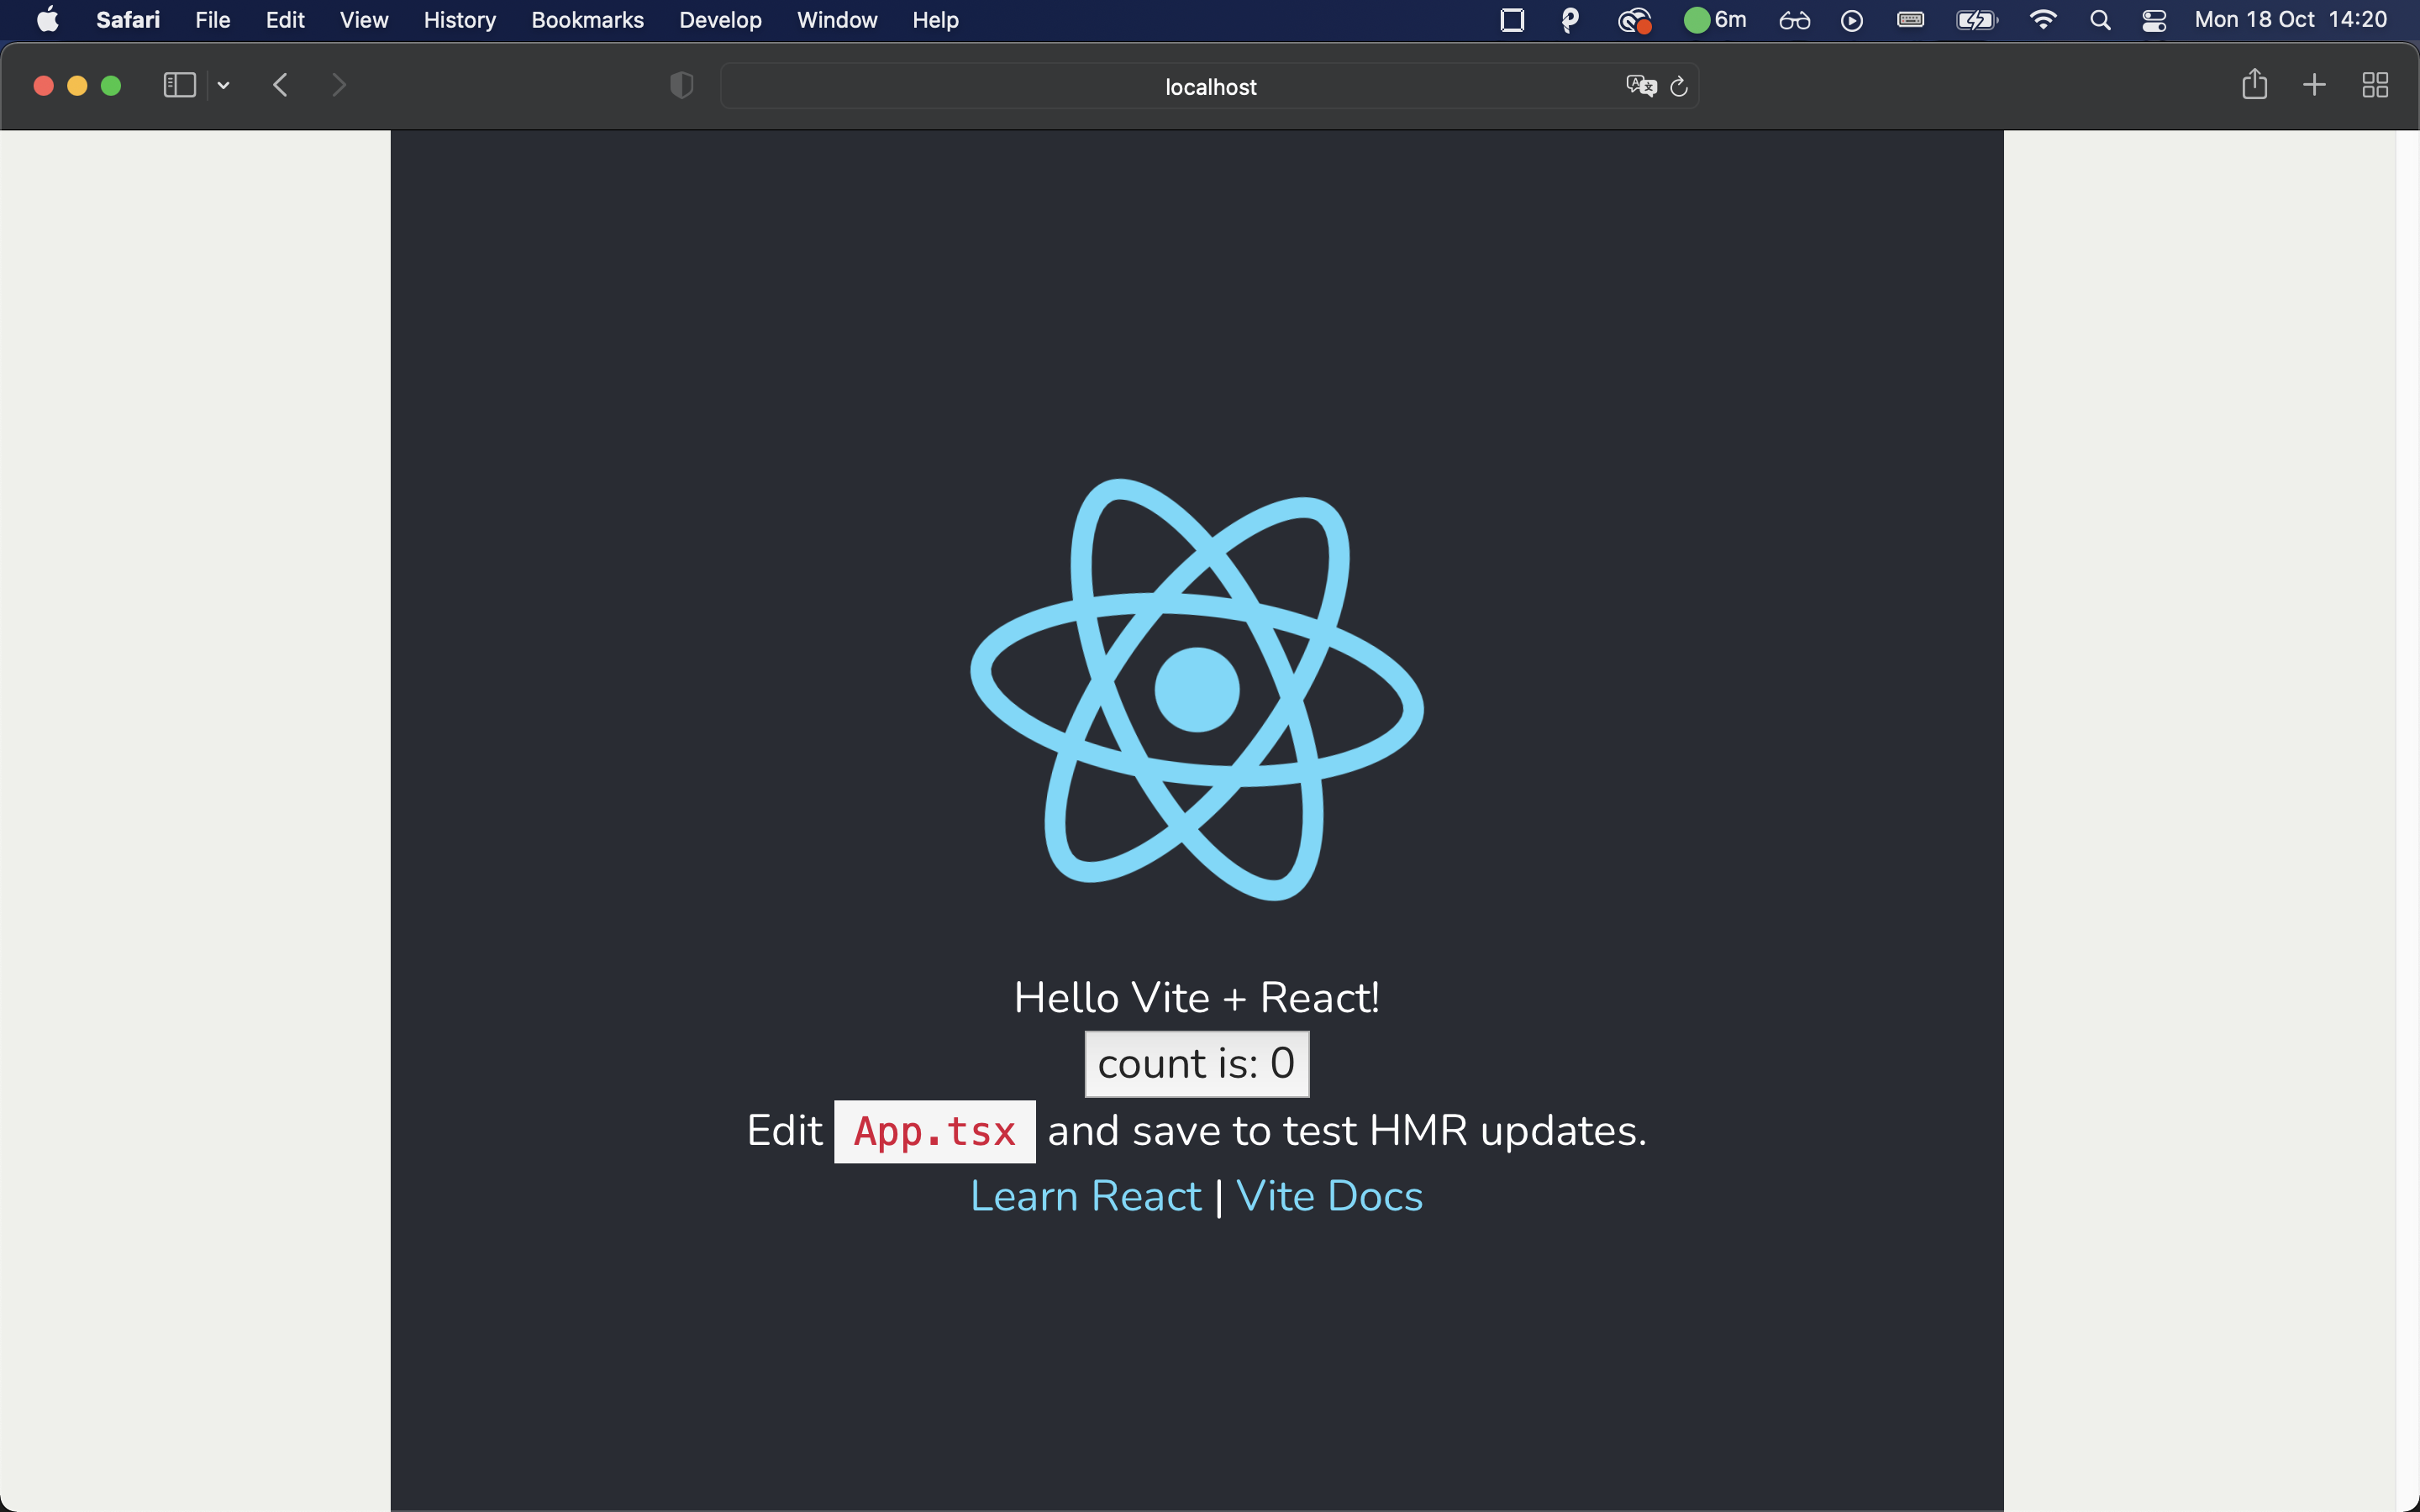
<div id="root"></div>If you go to the browser now, you should see a React application correctly rendered:
However, notice that the React logo image is not being correctly loaded. This is because the source of the image is pointing to http://localhost:4000/src/logo.svg, attempting to fetch the file from Phoenix.
Serve raw assets with Phoenix
We need to instruct Phoenix to serve files at assets/src over the usual endpoint. This is only necessary in development.
This is in fact very easy, just add this snippet inside lib/vite_demo_web/endpoint.ex:
if Mix.env() == :dev do
  plug Plug.Static,
    at: "/",
    from: "assets",
    gzip: false
end
Now the image loads fine, and we didn’t even have to restart the server!
Setting up stylesheets
Now let’s style up the application with a customized Bulma setup.
Under assets/src, create a folder called sass with three files: app.sass, _variables.sass, and bulma.sass.
In _variables.sass, we set up some variables and import a custom Web font:
@import url('https://fonts.googleapis.com/css?family=Nunito:400,700')

$purple: #8A4D76
$pink: #FA7C91
$brown: #757763
$beige-light: #D0D1CD
$beige-lighter: #EFF0EB

$family-sans-serif: "Nunito", sans-serif
$grey-dark: $brown
$grey-light: $beige-light
$primary: $purple
$link: $pink
$widescreen-enabled: false
$fullhd-enabled: false

$body-background-color: $beige-lighter
$control-border-width: 2px
$input-border-color: transparent
$input-shadow: none
In bulma.sass, import all the necessary parts of the framework:
@charset "utf-8"
/*! bulma.io v0.9.3 | MIT License | github.com/jgthms/bulma */

@import "../../node_modules/bulma/sass/utilities/_all.sass"
@import "../../node_modules/bulma/sass/base/_all.sass"
@import "../../node_modules/bulma/sass/elements/button.sass"
@import "../../node_modules/bulma/sass/elements/container.sass"
@import "../../node_modules/bulma/sass/elements/title.sass"
@import "../../node_modules/bulma/sass/form/_all.sass"
@import "../../node_modules/bulma/sass/components/navbar.sass"
@import "../../node_modules/bulma/sass/layout/hero.sass"
@import "../../node_modules/bulma/sass/layout/section.sass"
Finally, put the setup together by importing both files inside app.sass:
@import variables

@import bulma
Finally, swap any imports to .css or .sass files inside main.tsx for an import of our .sass entry file:
import React from "react";
import ReactDOM from "react-dom";
import App from "./App";
import "./sass/app.sass"; // changed here

ReactDOM.render(
  <React.StrictMode>
    <App />
  </React.StrictMode>,
  document.getElementById("root")
);
Now the application will be nicely styled, but the layout completely messed up:
Replace React content
Let’s build something prettier inside App.tsx:
import { useState, useCallback } from "react";
import logo from "./logo.svg";
function App() {
const [count, setCount] = useState(0);
const increment = useCallback(() => {
setCount((count) => count + 1);
}, [setCount]);
return (
<section className="section">
<div className="container">
<img src={logo} alt="React logo" width={120} />
<h1 className="title">Hello World</h1>
<p className="subtitle">
A React app running on top of <strong>Phoenix</strong> and with
support for <strong>Bulma</strong> and <strong>SASS</strong>!
</p>
<button className="button is-primary" onClick={increment}>
Click me: {count}
</button>
</div>
</section>
);
}
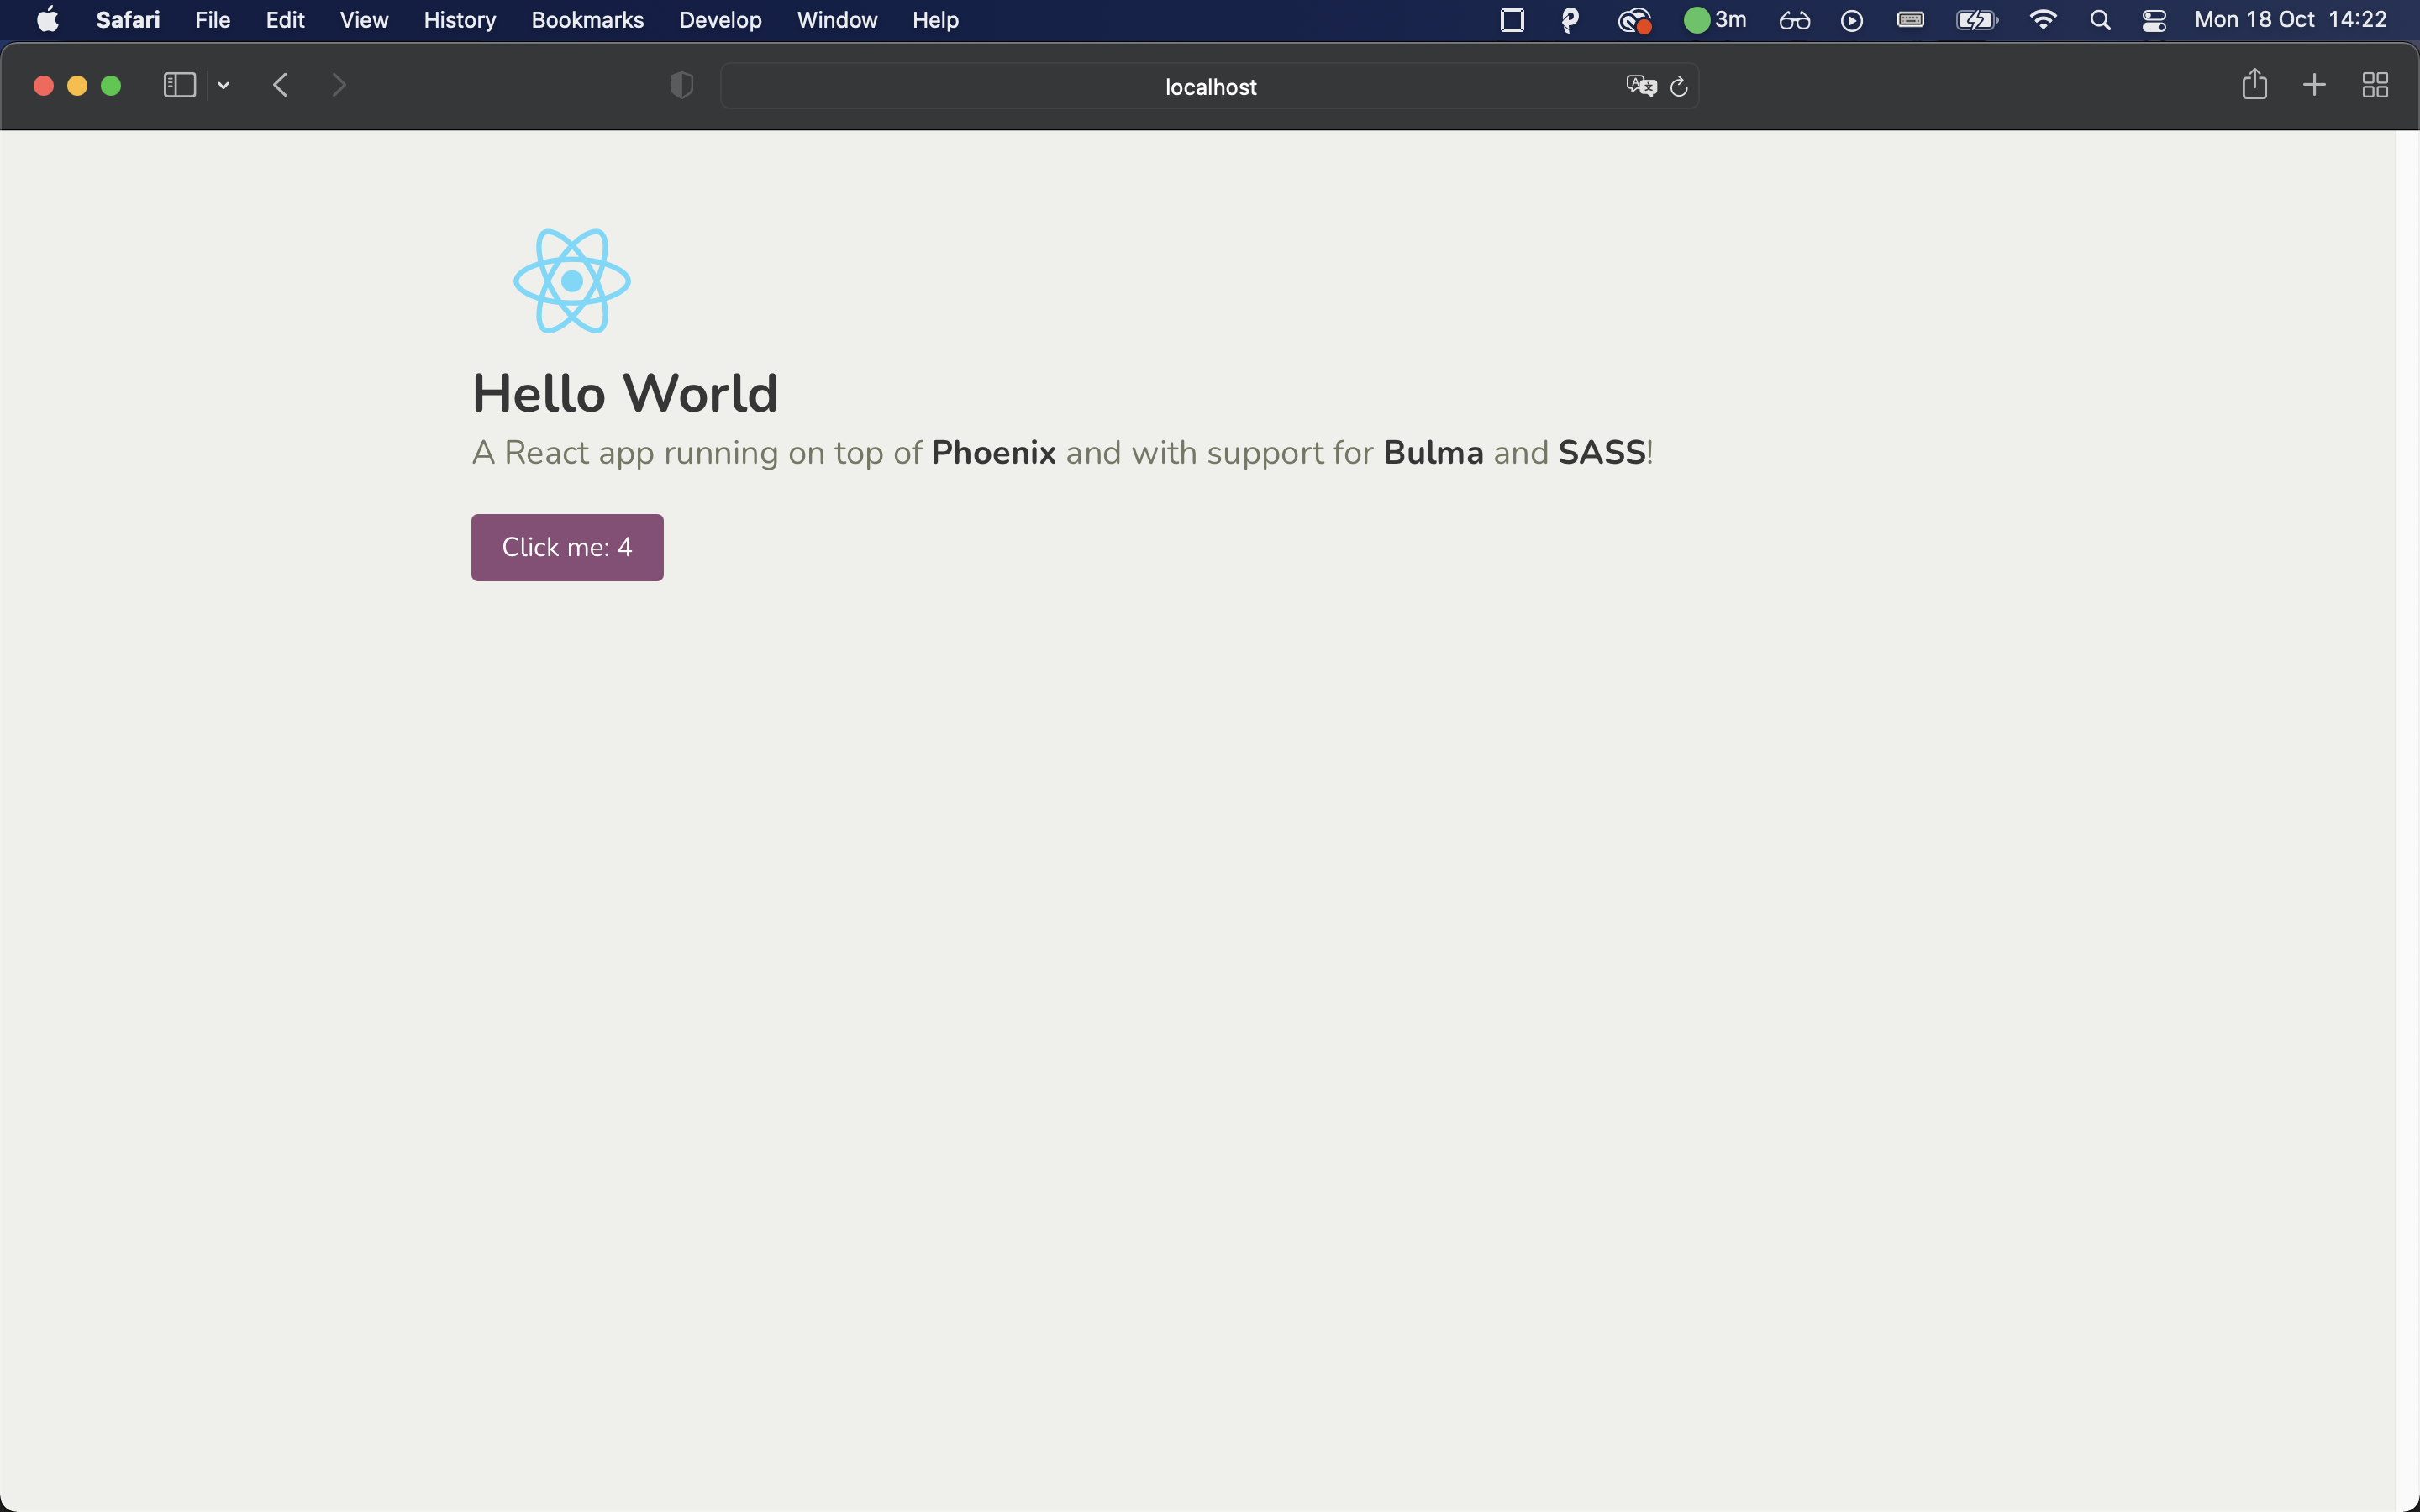
export default App;Now we get a nice and clean hero with a counter button. The cool thing is that if we just change a tiny part of the application, such as styles, only the modified part of the application will be reloaded in the browser, and the state of your components will be preserved.
Deployment
With an application set up like this, deployments should work fine out of the box.
you don’t need to do anything extra to compile your assets for a production deployment. A call to yarn build inside assets will emit all necessary files to priv/static/assets, and Phoenix will take it from there.
Thank you for reading and I hope I helped.